
Taylor Swift is Releasing The Life of a Showgirl. And She Bakes, Too
Sure she's dropping a new record -- but the bigger news is her sourdough obsession


Taylor Swift has, once again, stolen the spotlight, headlines, and hearts of the world with the announcement of her new release, The Life of a Showgirl, available October 3. Swift teased the new recording while chatting with her boyfriend on the New Heights with Travis and Jason Kelcie podcast.
More importantly (at least to Swifties that double as foodies) was Swift’s admission to another passion: Baking or — as Taylor put it — “grannny shit”, which also includes sewing (especially children’s purses and baby blankets), painting, and cooking.
She did point out one hobby in particular that turns her on. “Right now, we're very deep in a sourdough obsession that has taken up my life,” she confesses, adding that she’s currently workshopping not a song — but a Funfetti sourdough for (possibly future brother-in-law) Jason Kelcie and wife Kylie’s daughters.
Seeing how friendship bracelets turned into a collective hobby by almost every human, we predict an uptick in sourdough bread making, corresponding to this confession.
With that in mind, we asked some of our favorite kitchen creators to share some of their sourdough tips with Broken Palate readers.
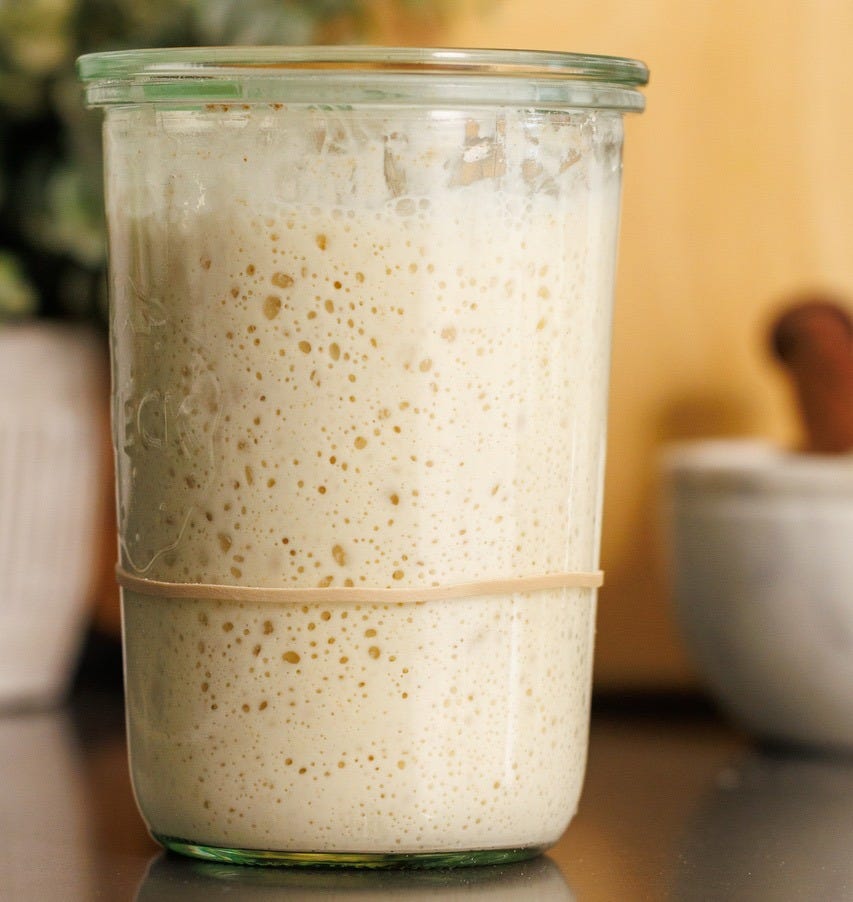
Before we get into baking, we cannot put the cart before the horse. If you’re going to make sourdough, you need to have a starter.
Alyssa Rivers, known as The Recipe Critic, shared an easy sourdough starter:
How to Make Sourdough Starter
Day 1: In a quart-sized jar, add the cup of flour. Add the cup of warm water and mix into a paste. Screw on the lid tightly and set aside on the counter for 24-48 hours.
Day 2-5: After about 24 hours, you should see some bubbling activity. If it has bubbled significantly, it’s time to feed it! Discard all but ½ cup of the starter and add ½ cup whole wheat flour and ½ cup water, and mix. Screw the lid on and set aside again for another 24 hours. If the starter is bubbling up in less time, switch to feeding twice a day instead of once a day.
Day 6: Do this for 6 days, and when you reach the 6th day, instead of discarding half of the starter, remove half and set aside to use in your sourdough bread.
Once you have your starter, you’re ready to bake your first loaf. New York Times bestselling cookbook author Natasha Kravchuk, shares an easy recipe on her Natasha’s Kitchen site.

Sourdough Bread
Ingredients
Flour – we prefer organic flour, but regular will work as well. Bread flour has a higher percentage of protein than all-purpose flour, giving the bread a chewy texture, but either flour will work.
Rye, whole wheat, or whole grain flour (optional)– these give the bread more flavor. You can substitute this portion with bread flour.
Fine Sea Salt – this ingredient is so important! It aids in fermentation, gives flavor and color, and gives a good oven spring (rise in the oven).
Water – filtered, bottled, or dechlorinated water is best and should be room temperature or lukewarm (85˚F). You may need to experiment with water quantities. This recipe was made in an Idaho kitchen, which is in a dry climate. If you live in a high-humidity area, use less water.
Active Sourdough Starter – this is a starter that has been fed within the last 6-12 hours, has more than doubled in size, and is bubbly. (See above for starter).
Rice Flour (optional) – for dusting the bread basket, or use bread flour.
Timing Tip: The process of making sourdough is mostly hands-off rising time. To help you gauge, if you start with step 1 in the morning, say 10 am, you should be ready to mix the dough by 2 pm and in the fridge by 6-7 pm for overnight cold fermentation.
Make the dough
In a large bowl, whisk the flours and salt until mixed. Add the water and active starter and stir using a wooden spoon then use your hands until thoroughly mixed. It will be a wet and sticky dough. Scrape down the sides of the bowl and cover with a clean kitchen towel.
Bulk Fermentation Stage
Rest the dough for a total of 4 hours, performing a stretch and fold routine after every hour. Stretch and fold: Wet your hands so the dough doesn’t stick. Stretch or pull up gently on one side of the dough without tearing it. Then fold it over itself, turn the bowl a quarter turn and repeat the stretch on the other 3 sides until all 4 sides are stretched. Cover and repeat each hour for 4 total stretches. It will be tougher to stretch towards the end as the dough develops.
Shape the Loaf
After the 4th stretch and fold, lightly flour your work surface to shape the dough. Flour your hands, turn the dough out onto the surface, and gently stretch and shape the sourdough bread for your cooking pot.
Shape a Round Loaf: stretch the dough from the top down onto the center. Turn a quarter turn and repeat until all the sides are folded in.
Shape an Oval Loaf: Fold the sides of the dough alternating left and right from top to bottom. Then tightly roll the dough from the top to the bottom.
Bench Rest
Let the dough rest for 20 minutes. First, turn the dough seam-side down. Then cover with a towel. After 20 minutes, if it seems to have loosened up too much, gently re-shape it using the same process as above.
Tighten the Loaf
Flour your hands and cup the outsides of the dough. Then tuck the sides of the dough underneath. Slide the dough down the counter in a circular motion about 6 inches, using its slight stickiness to tighten the ball/oval. Don’t over-flour your surface and try not to tear the dough.
Pro Tip: A banneton is a bread basket made to hold dough as it ferments. It should be shaped to match your pot (oval for oval baking dish, round for round baking dish). Before your first use, season the basket or liner by lightly spraying it with water, dust generously with flour (preferably rice flour for a nicer crust and less sticking), let it fully dry, then scrape out any excess with a spatula. Always let it fully dry after use and scrape out excess flour before storage.
Cold Fermentation/Proofing
Flour the banneton proofing basket, or tea-towel-lined bowl, generously. Place the dough inside seam-side up and cover with a towel. Refrigerate overnight or for at least 8 hours. It can stay refrigerated for up to 48 hours until you’re ready to bake the sourdough bread. It will rise slightly but won’t double.
Preheat Oven & Pot
Preheat the oven to 500 degrees and set the pot inside to preheat at the same time. This may take 30 minutes or up to 60 minutes for some ovens. If using a combo cooker with low sides, cut a piece of parchment to cover the bottom. I recently discovered that using a bread sling prevents too much browning on the bottom and it’s easier to transfer in and out of the pot. If using a Dutch Oven with higher sides, lay a piece of parchment (or bread sling) on the counter. Put the Dutch oven/combo cooker into your oven to heat (without the parchment) at least 30 minutes before baking. Optional: Set a pizza stone on the bottom rack, if using (a pizza stone helps to keep the bottom of the bread from getting too dark).
Score the Sourdough Bread
Remove the dough from the fridge. If using a combo cooker, place the parchment circle into the hot pan, and turn out the dough into the hot pot seam-side-down. If using a Dutch oven, turn the dough out on the parchment paper. Using a bread lame (A curved lame works best to get the distinctive ear) or a serrated knife, make a crescent shape cut from the base of one side of the dough to the base of the dough. Keep the blade at a 45-degree angle to the dough and cut 1/3 to 1/2″ deep (it’s ok to go over it a second time, just be confident).
Bake the Bread
If using a Dutch oven, lift the parchment paper to place the dough (on the parchment) into the Dutch oven. Using hot mitts, cover the Dutch oven/combo cooker with the hot lid and place it into the oven. Reduce the heat to 450 degrees and bake for 20 minutes to allow the trapped steam to cook the crust of the bread. Then, remove the lid and bake uncovered for 20-25 minutes or until golden brown. Transfer the finished sourdough bread to a cooling rack and cool completely before cutting.
What is the Best Cooking Pot for Sourdough?
You can use a variety of pots. Either a 5 1/2 qt cast iron Dutch oven or a cast iron combo cooker with lid are great options. My combo cooker is my favorite because the lower sides make it easier to score in the pot, but you can score the bread on the counter and transfer the dough ball into a Dutch oven using parchment paper
Pro Tip: Dust the banneton with rice flour for a prettier, crispier crust. My cousin Enna introduced me to this idea, and while it’s not necessary, it makes for a beautiful loaf. The extra flour just brushes away after it’s baked.
How to Get the Best Oven Spring
Oven spring is the rise the dough gets when it’s in the oven, mostly occurring in the first 10 minutes. Here’s how this sourdough bread recipe creates the best rise:
Covering the pot – A Dutch oven or combo cooker helps trap the steam to create a good rise.
Bulk Fermentation and cold fermentation help to prevent over-proofing (exhausting the yeast), so the yeast has plenty of life left for a burst of activity as the oven heats the dough.
Tightening the dough is a critical step in getting the best oven spring. You want the outside of your dough to be taught to trap the air bubbles but not to tear it.
Scoring the bread is also important to help it open up and rise properly
Salt helps the yeast slowly ferment, creating a better crumb with more big and small bubbles and better oven-rise
Do I need to “Slap and Fold?”
Some sourdough bread-makers will slap the dough against the counter and then fold it onto itself right after the dough comes together. This is called the ‘slap and fold’ and is supposed to tighten up the dough. I used to do it but found it to be unnecessary. It just makes you counter messy and the ‘stretch and fold’ during the bulk fermentation tightens up the dough without this extra step.
Can I Bake Right Away?
You can skip the slow fermentation in the refrigerator, but your bread won’t have as much sourdough flavor. If you prefer to bake right away, you can cover and let it proof at room temperature for 1 to 2 1/2 hours, depending on the room temperature, or until it is puffed but not doubled in size, then score and bake as directed.
Loved this article. Convinced I will never, ever make sour dough bread (cuz Zach's is good enough for me). But loved understanding the process. Thanks Laine.